About tip 3
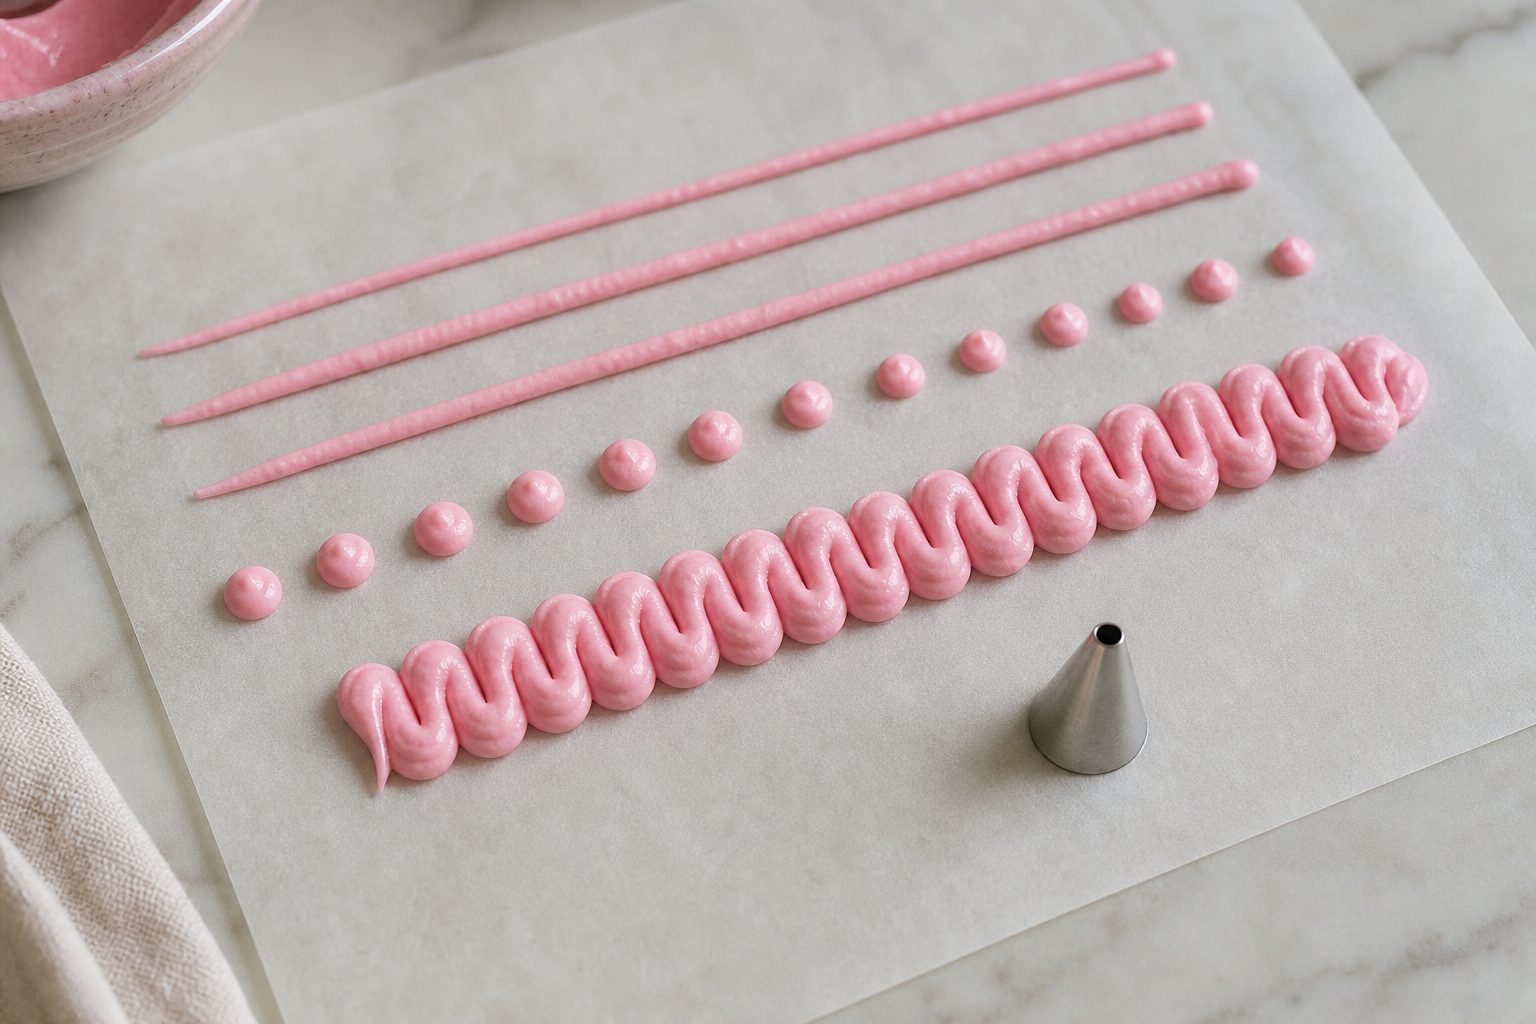
Tip 3 is the plain round tip our line, zigzag, loop and lettering sheets are drawn for. A round opening gives a round bead with no ridges, so nothing hides a shaky hand: every wobble, gap and change of speed shows. That is why the first sheet in the 30-day plan uses it.
Most of its work on our sheets is one steady squeeze with the bag at 45 degrees while your arm moves along the line. The exception is dots, where you hold the bag straight up and squeeze, stop and lift on one spot. If you only buy one round tip to start with, this is the one the sheets assume.
What tip 3 pipes
- Fine lines
- Dots
- Writing
- Block letters
How to pipe with it
The rhythm and bag angle our sheets use for each shape, in the order you squeeze.
- 1
Lines: one steady squeeze
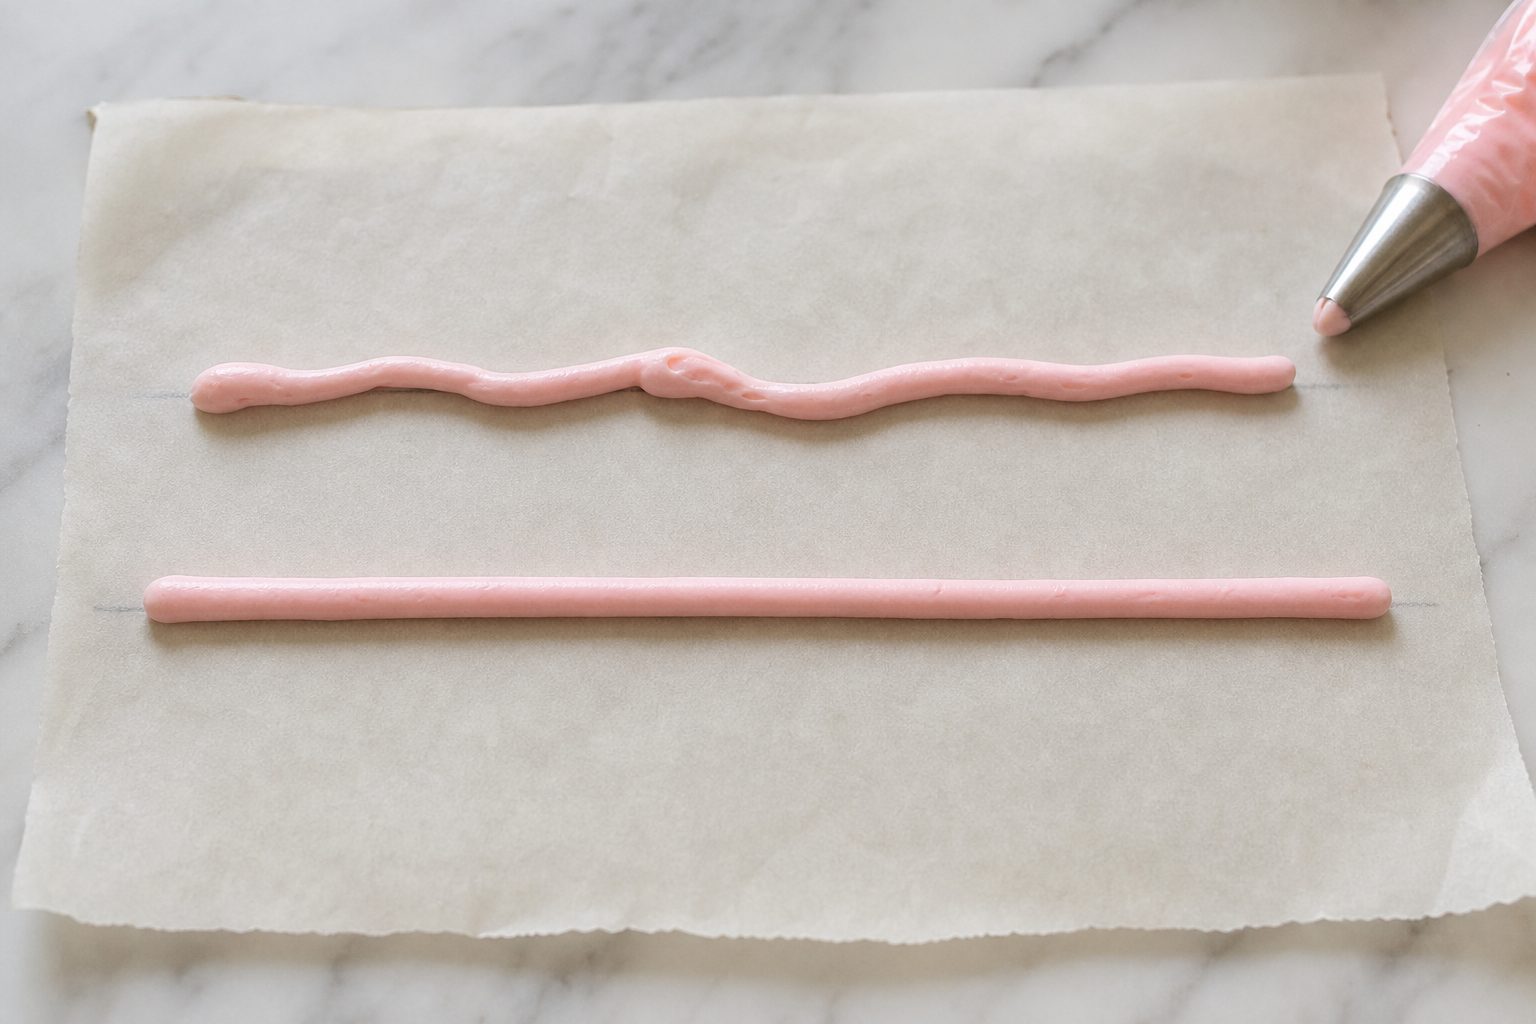
Touch down, lift the bag a centimetre, and let the line fall into place. Hold the bag at 45 degrees.
- 2
Dots: squeeze, stop, lift
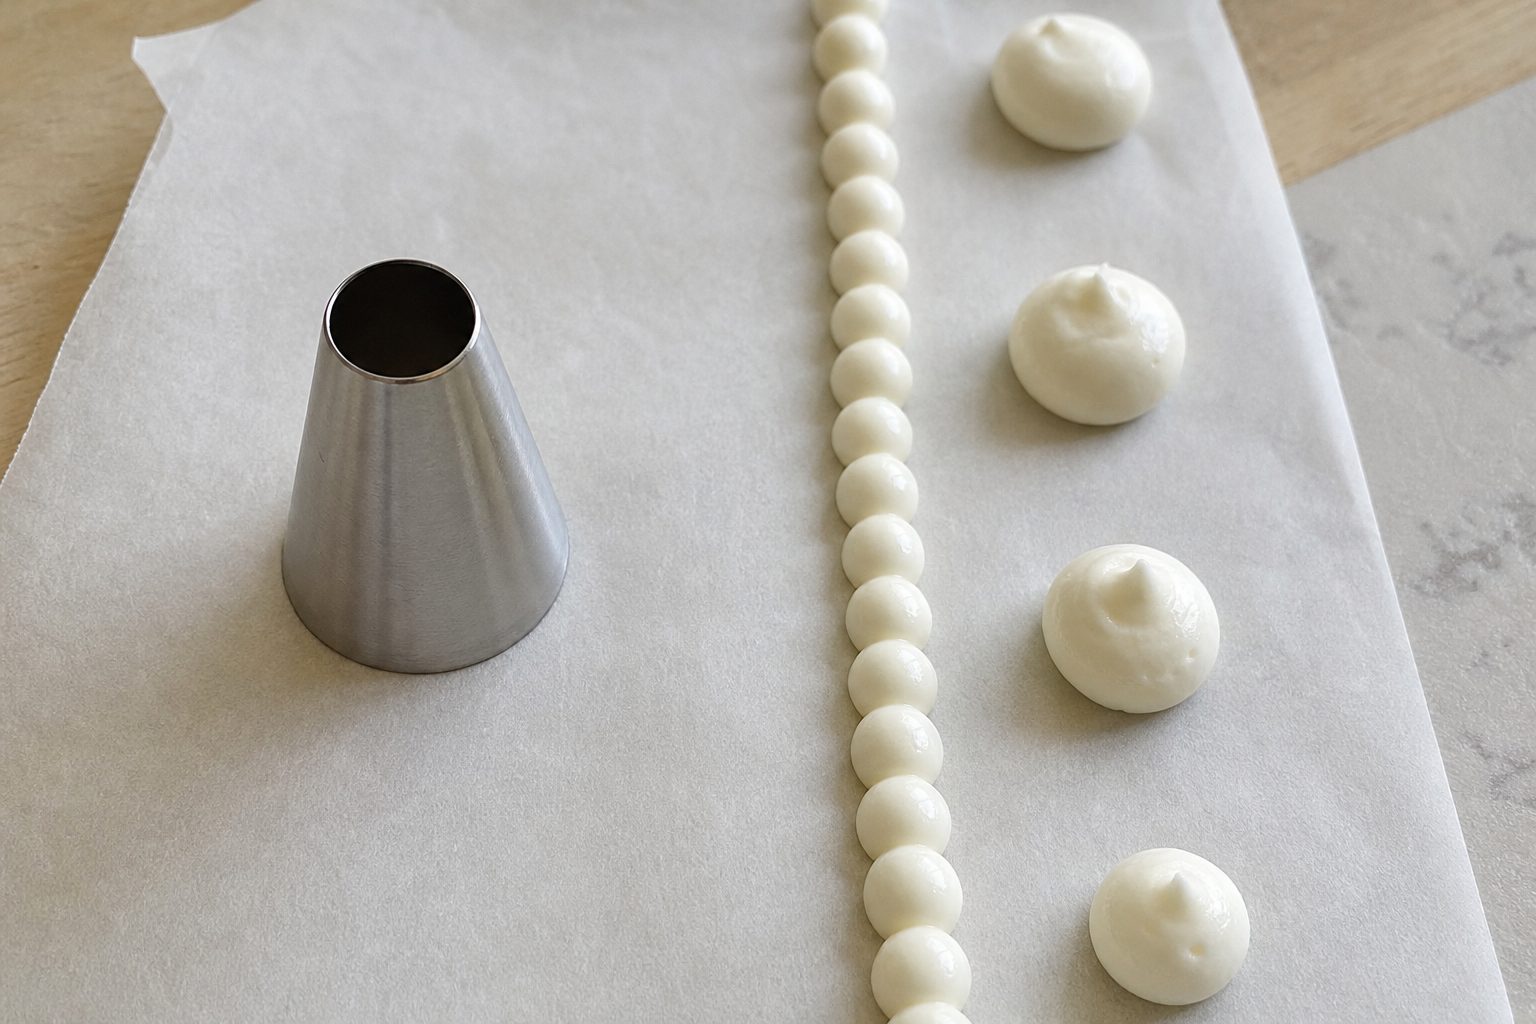
Hold the bag straight up, squeeze in place, stop, then lift. Hold the bag at 90 degrees, straight up.
- 3
Zigzags: one steady squeeze
Sharp corners: keep squeezing and turn the tip on the spot. Hold the bag at 45 degrees.
- 4
Loops: one steady squeeze
Small e-loops: round, even, and each one the same size as the last. Hold the bag at 45 degrees.
- 5
Lettering: one steady squeeze
Pipe each letter in order. Lift and start fresh for every new stroke. Hold the bag at 45 degrees.
How big our sheets size it
Each template on our sheets is drawn as wide as the icing should be. For tip 3, that is about:
| Technique | Bead or unit size on our sheets |
|---|
| line | about 3 mm |
|---|
| dots | about 6 to 8 mm |
|---|
| zigzag | about 3 mm |
|---|
| loops | about 3 mm |
|---|
| letters | about 3 mm |
|---|
Your bead can come out a little bigger or smaller depending on your icing and how hard you squeeze. The score
checks that it stays even and on the template.
Every stroke tip 3 pipes on our sheets
- Stroke 1: a 140 mm line. Touch down, lift the bag a centimetre, and let the line fall into place.
- Stroke 2: a 140 mm line. Same again: keep the squeeze steady and watch where the line lands, not the tip.
- Stroke 3: a 140 mm line. Stop squeezing first, then pull away to end the line without a tail.
- Stroke 4: 8 dots, each about 7 mm across. Hold the bag straight up, squeeze in place, stop, then lift.
- Stroke 5: 6 dots, each about 8 mm across. A bigger dot: squeeze a little longer, still without moving the tip.
- Stroke 6: 10 dots, each about 6 mm across. Small dots: a short squeeze, and keep them all the same size.
- Stroke 1: a 287 mm zigzag that repeats every 16 mm. Sharp corners: keep squeezing and turn the tip on the spot.
- Stroke 2: a 309 mm zigzag that repeats every 10 mm. Tighter zigzag: go slower so each peak stays crisp and even.
- Stroke 3: a 209 mm wave that repeats every 32 mm. Let the wave flow: move your whole arm, not just your wrist.
- Stroke 4: a 206 mm wave that repeats every 20 mm. A shorter wave: same speed, smaller swing.
- Stroke 5: a 200 mm wave that repeats every 26 mm. Last one: aim for peaks that are all the same height.
- Stroke 1: a 378 mm chain of loops, one every 10 mm. Small e-loops: round, even, and each one the same size as the last.
- Stroke 2: a 411 mm chain of loops, one every 8 mm. Tighter e-loops: slow down a touch to keep them open, not squashed.
- Stroke 3: a 580 mm chain of loops, one every 14 mm. Tall cursive l-loops leaning to the right: up, round, down, forward.
- Stroke 4: a 568 mm chain of loops, one every 16 mm. Bigger l-loops: use your arm, and keep the lean the same all along.
- Stroke 1: 8 pen strokes of lettering, 443 mm of line in all. Pipe each letter in order. Lift and start fresh for every new stroke.
- Stroke 2: 5 pen strokes of lettering, 409 mm of line in all. Round letters first: keep the O smooth, then finish with straight strokes.
Mistakes to watch with tip 3
- Wobbly line: Lift the tip about 1 cm and let the icing fall onto the line while you move a little slower.
- Peaks on dots: Stop squeezing before you lift, then flick the tip sideways to break the icing off cleanly.
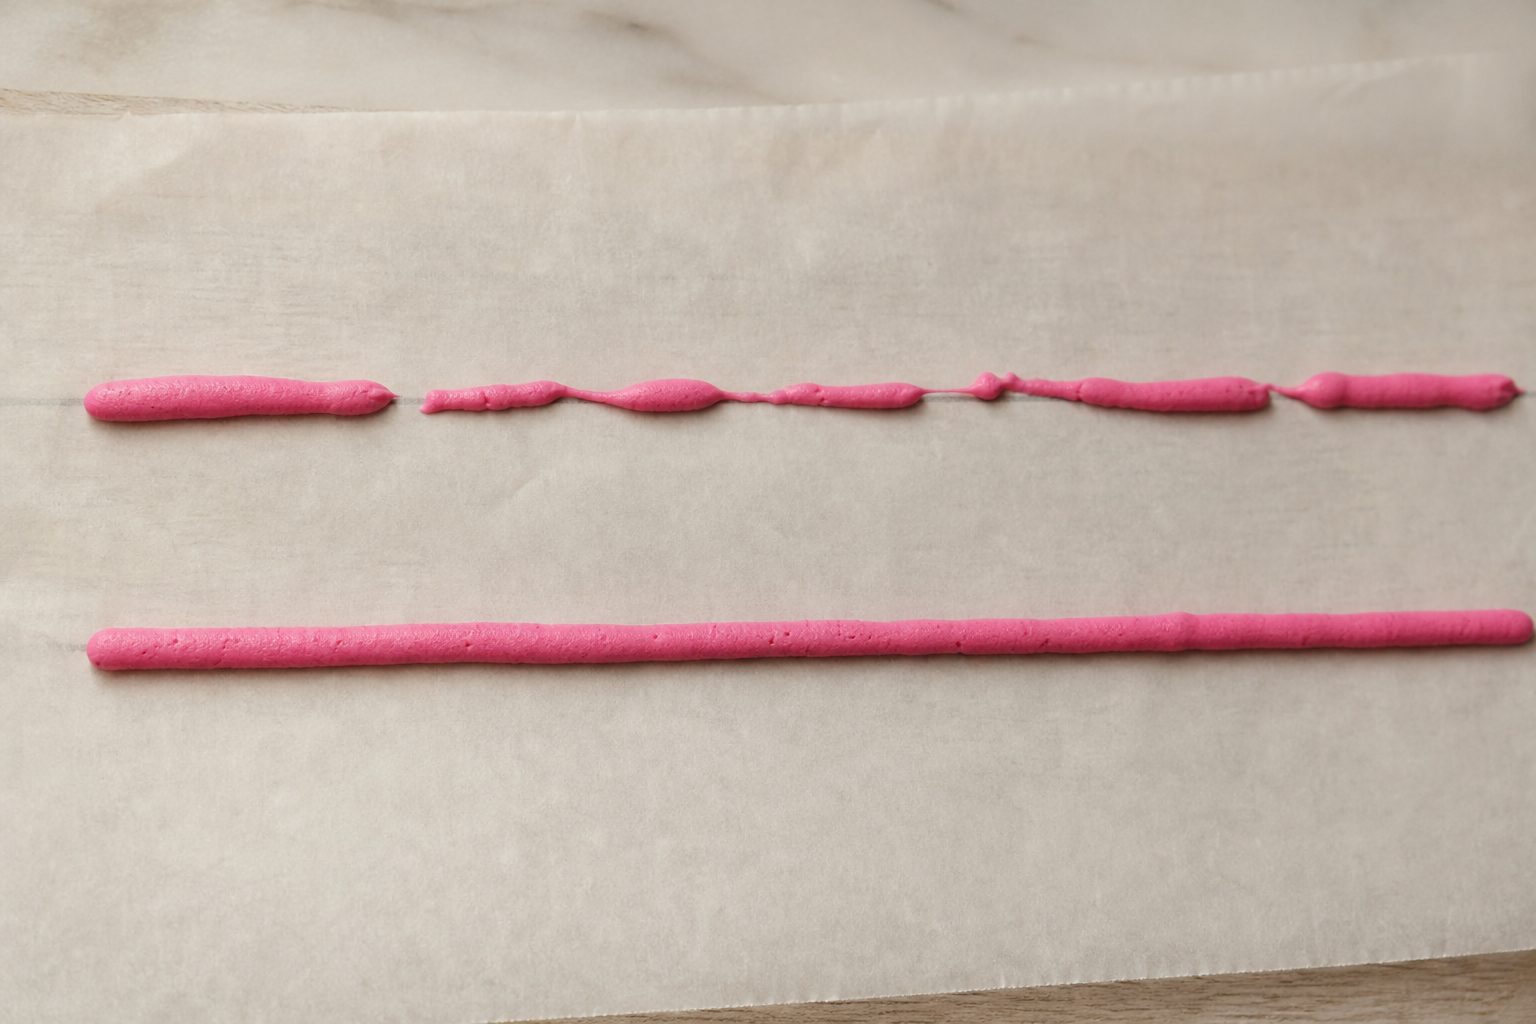
- Gaps and breaks: Keep the same gentle squeeze all the way and only stop squeezing at the very end.
- Thin then thick: Keep the same squeeze and the same speed from start to finish, following the pacer.
Tip 3 in the 30-day challenge
You need tip 3 on 11 of the 30 days in the 30-day piping challenge:
- Day 1 · Baseline · lines and dotsDo not try to be good. Pipe the sheet as you would today and keep the score: it is your starting line.
- Day 3 · New sheet · zigzags and wavesKeep squeezing through the sharp corners and move your whole arm for the waves, not just your wrist.
- Day 6 · Repeat · lines and dotsSame sheet as day 1. Look at where the line lands, not at the tip, and stop squeezing before you pull away.
- Day 8 · New sheet · loopsKeep the squeeze constant and let the loops roll along. Same size loop every time.
- Day 9 · New sheet · block lettersLift and start fresh for every stroke. Round letters first, then the straight ones.
- Day 13 · Repeat · zigzags and wavesRepeat of day 3. Slow down on the tight zigzag so each peak stays crisp.
- Day 18 · Repeat · loopsRepeat of day 8. Keep the lean of the tall loops the same all along.
- Day 25 · Repeat · block lettersRepeat of day 9. Smooth the O, then finish with the straight strokes.
- Day 28 · Repeat · zigzags and wavesThird time. Aim for peaks that are all the same height.
- Day 29 · Repeat · loopsYour choice: pipe the sheet with your lowest score so far (open the app's progress page to find it). Loops is the suggestion.
- Day 30 · Final · lines and dotsThe sheet from day 1. Same paper, same tip, same light. Do not rush it.